So, if you are running an older version of the Windows operating system, then you need to force Windows to create a restore point automatically. The system restore is useful as it helps you to recover data from many different types of problems. With restore points, you can restore Windows to the previous version.
Steps to Create Daily System Restore Points
So, in this article, we are going to share a working method to create daily system restore points in Windows 10 computers. We will share two methods, both of them does the same thing, but the process is different. So, let’s check out the methods.
Using Group Policy Editor
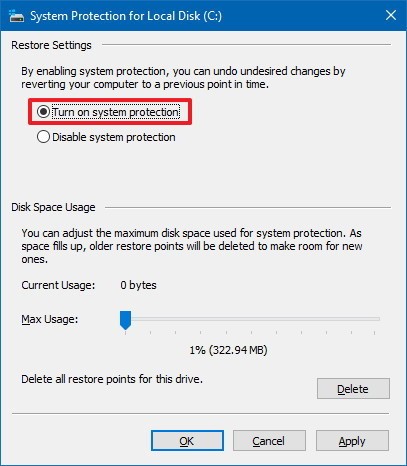
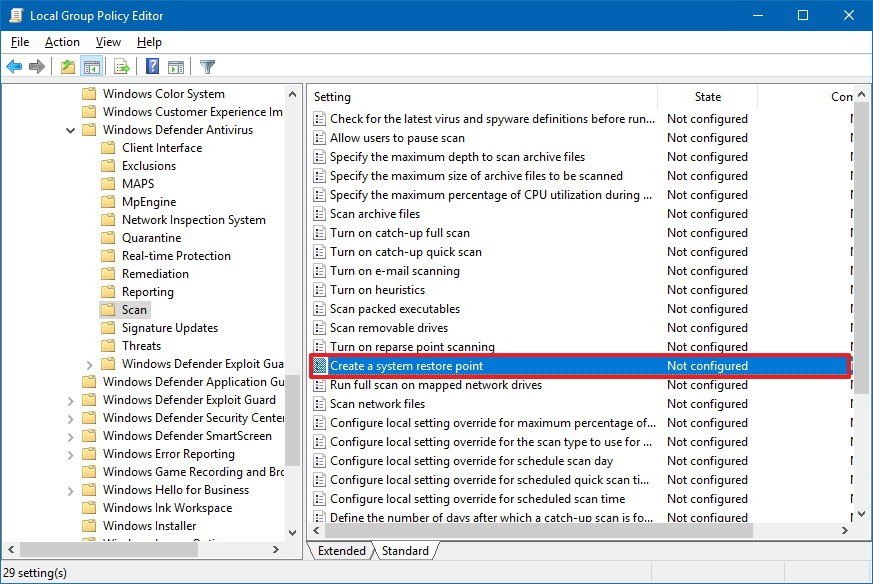
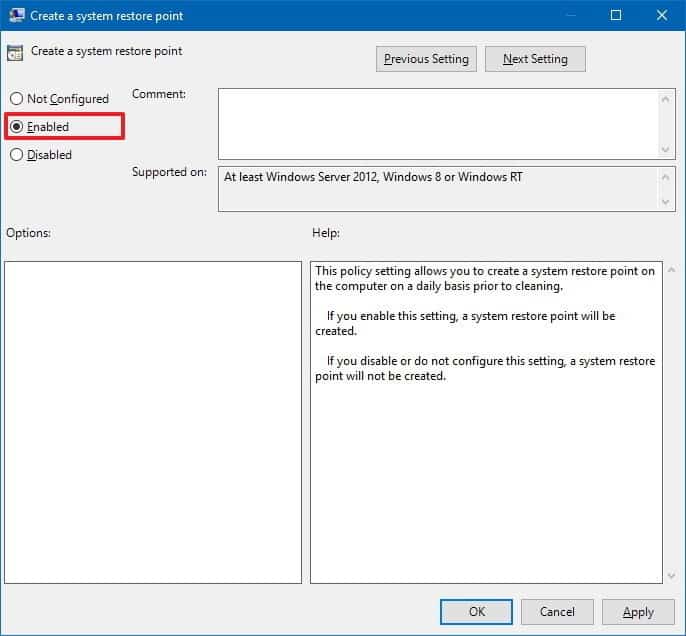
In this method, we are going to make a few changes to the Group Policy editor to enable the daily system restore on Windows 10. Step 1. First of all, search for ‘Create a restore point’ on the Windows 10 Start menu. Open the first one from the list. Step 2. Next, move to the ‘System Protection’ tab and then select the Windows installation drive and click ‘Configure’ Step 3. Now you need to enable the ‘Turn On System Protection’ option and click on ‘Apply’ then on ‘Ok’ Step 4. Now, press Windows Key + R and on the Run command box type ‘gpedit.msc’ Step 5. Now, you will see the Local Group Policy Editor. You need to browse to the following path – Computer Configuration > Administrative Templates > Windows Components > Windows Defender > Scan Step 6. Now from the right-hand side menu, find and double click on the ‘Create a system restore point’ Step 7. On the next window, select ‘Enabled’ and click on Apply then on ‘Ok’ That’s it! You are done. Now every time you turn on your PC, Windows 10 will create a restore point.
Registry Editor
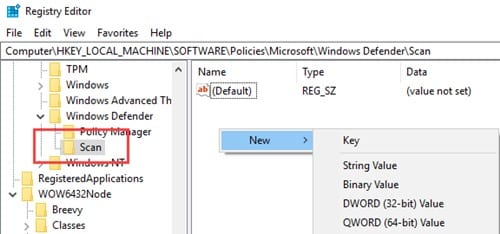
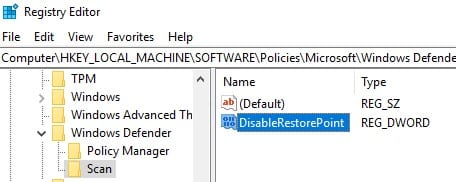
If you are using Windows 10 home edition, then you need to follow the method given below. However, make sure to follow the steps carefully. Step 1. First of all, press Windows Key + R to open the RUN dialog box. On the RUN dialog box, enter ‘Regedit’ and press the Enter button. Step 2. Inside the Registry Editor, you locate to the – HKEY_LOCAL_MACHINE\SOFTWARE\Policies\Microsoft\Windows Defender Step 3. Right-click on the Windows Defender folder and then select New>Key options. This will create the new key inside the Registry and you will have to rename it, keep the name to Scan. Step 4. Again right-click on the right panel and then click on the New>DWORD (32-bit) Value. Name this value as DisableRestorePoint. Step 5. Make sure to set the new DWORD key value to 0. Once done, close the registry editor. That’s it! You are done, Now whenever Windows defender will scan your computer, it will create a system restore point. So, this is how you can create daily system restore points in Windows 10 computers. I hope this article helped you! Please share it with your friends also. If you have any doubts related to this, let us know in the comment box below.