Compared to other word processing tools, Microsoft Word has more features. Apart from creating and managing word documents, Microsoft word can be used used for a variety of tasks like compressing an image. Yes, you read that right! Microsoft Word can be used to compress an image file.
Compress Images With Microsoft Word Document
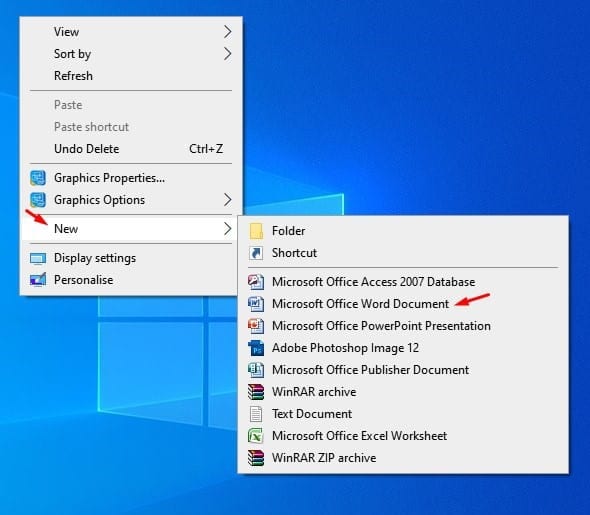
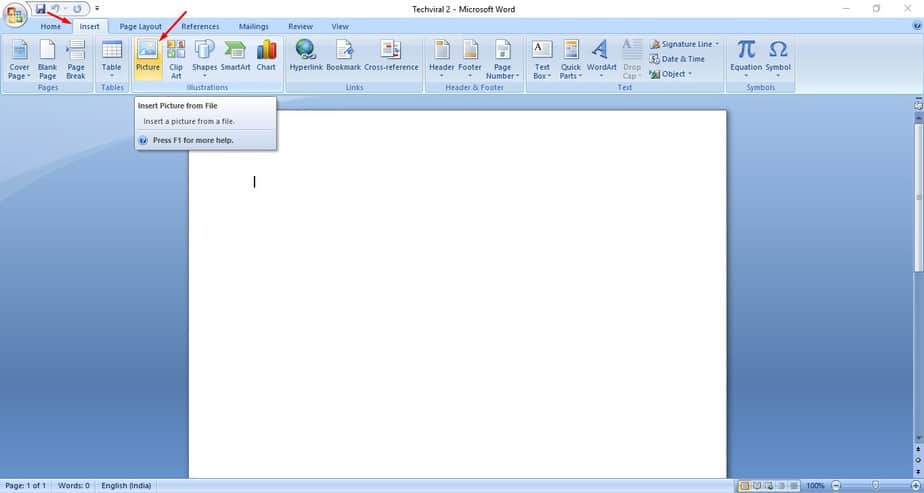
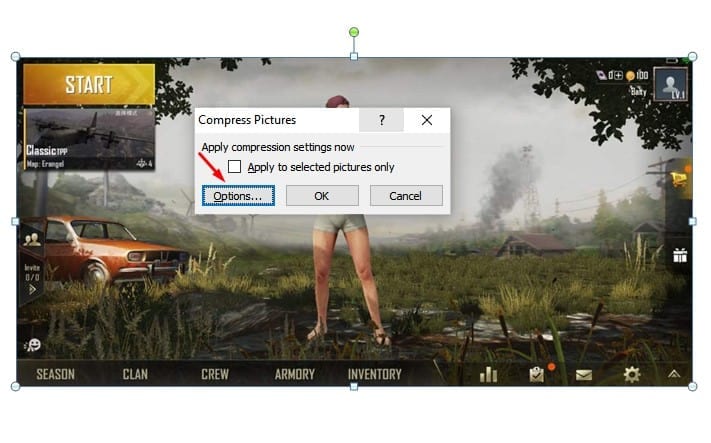
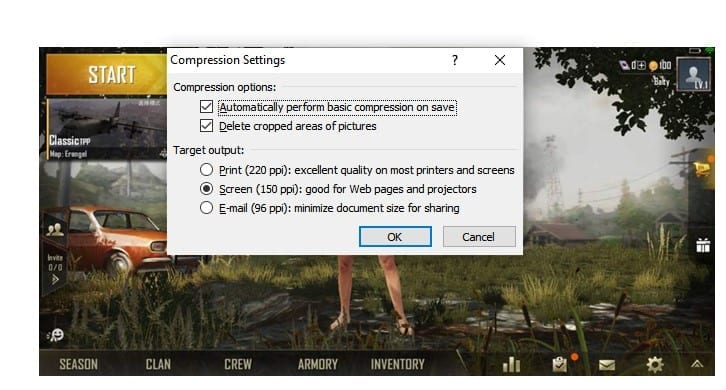
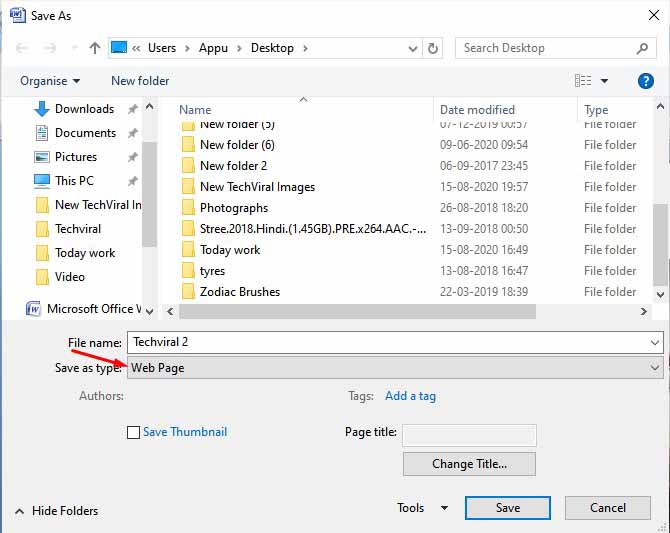
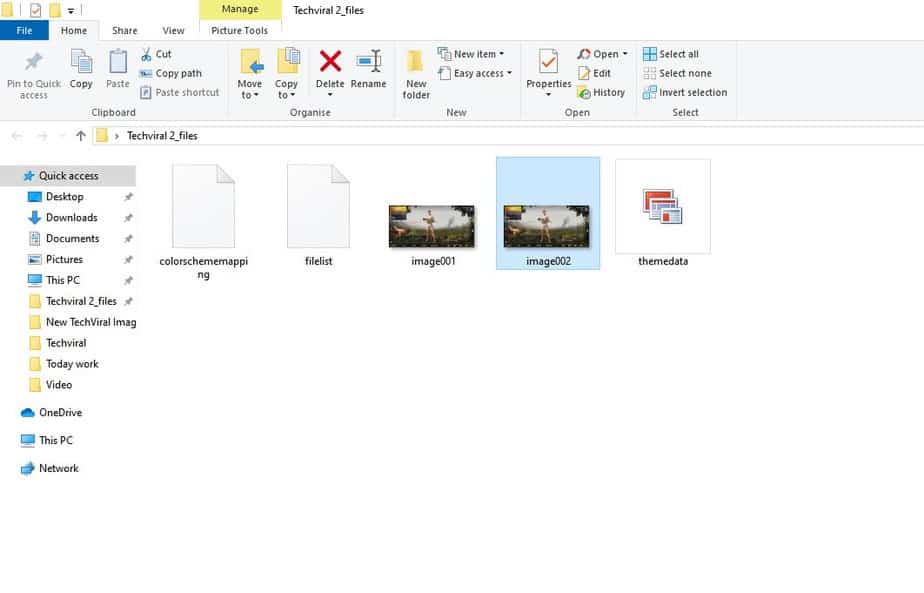
You don’t need to install any extra photo editing tool to compress images on the desktop. Below, we are going to share a detailed guide on how to compress images in Microsoft Word document in 2020. The method which we are going to share below works with every version of Microsoft Word. So, let’s check out how to compress images via Microsoft Word in Windows 10 computer. Step 1. First of all, open Microsoft Word document on your computer. Step 2. Next, select the ‘Insert’ tab and click on ‘Pictures’ Step 3. Now, select the image file that you want to compress. Next, click on the ‘Compress Image’ option. Step 4. In the next popup, click on the ‘Options’ and then select the preferred quality. Step 5. Once done, head to the File > Save As. Step 6. Under the Save As type, select ‘Web Page’ Step 7. Now move to the location where you have saved the document. You will find a new folder containing the compressed image. That’s it! You are done. This is how you can compress images with Microsoft Word. So, this article is all about how to compress images with Microsoft Word. I hope this article helped you! Please share it with your friends also.