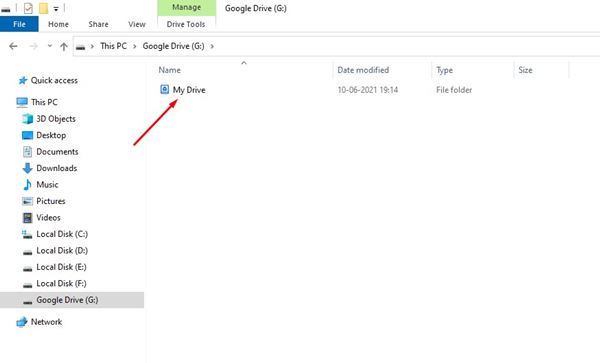
The same thing happens with Dropbox also. However, this doesn’t happen with Google Drive, at least not by default. What if I tell you that you can add a separate Google Drive partition on Windows 10? Actually, you can add a separate drive for Google Drive on Windows 10 computer. But, for that, you need to deploy Google Drive for desktop. Also Read: How to Free up Storage Space in Google Drive
Steps to Add Google Drive to File Explorer in Windows 10
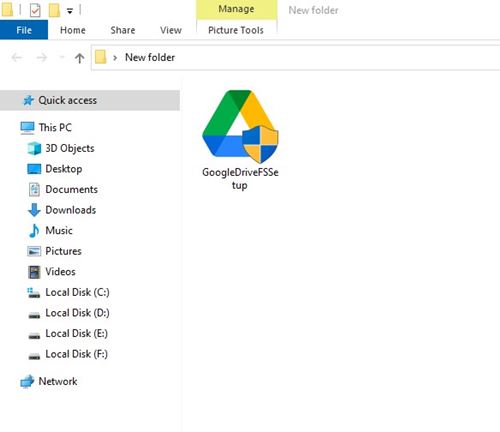
So, if you are looking for a quick and easy way to manage your Google Drive files on Windows 10, you are reading the right article. In this article, we will share a step-by-step guide on how to deploy Google Drive for desktops. Follow the simple steps given below. Step 1. First of all, open the Google Chrome web browser and head to this webpage. Next, you need to download the GoogleDriveFSSetup.exe file. You can also download the file directly from this link. Step 2. Once done, double click on the GoogleDriveFSSetup.exe file on your computer.
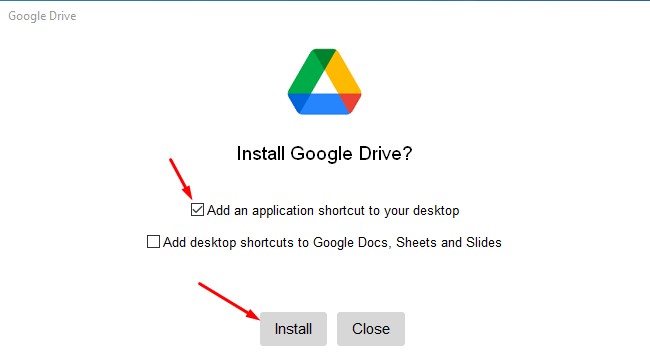
Step 3. On the next page, check the ‘Add an application shortcut to your desktop’ option and click on the ‘Install‘ button.
Step 4. Now, wait until the program downloads on your computer.
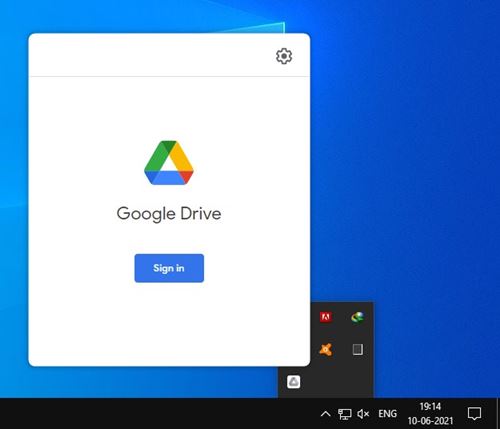
Step 5. Once downloaded, launch the Google Drive app from the system tray. Next, click on the ‘Sign in’ button and enter your Google Account details.
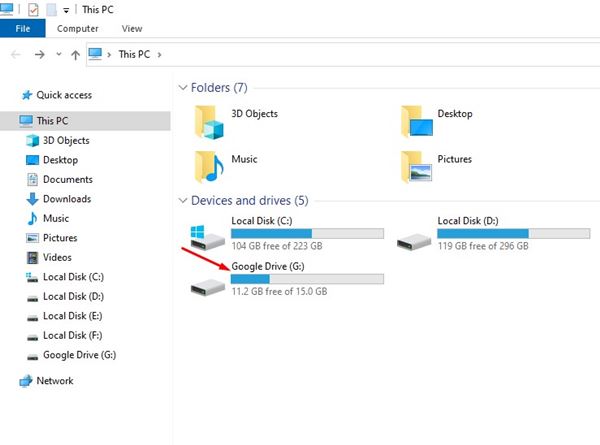
Step 6. Once done, open the File Explorer. You will find a separate drive for Google Drive.
Step 7. Open the drive and double-click on ‘My Drive’ to access the Google Drive files.
That’s it! You are done. Now you can manage Google Drive right from the file explorer. So, this guide is all about adding Google Drive to File Explorer on Windows 10 computers. I hope this article helped you! Please share it with your friends also. If you have any doubts related to this, let us know in the comment box below.
