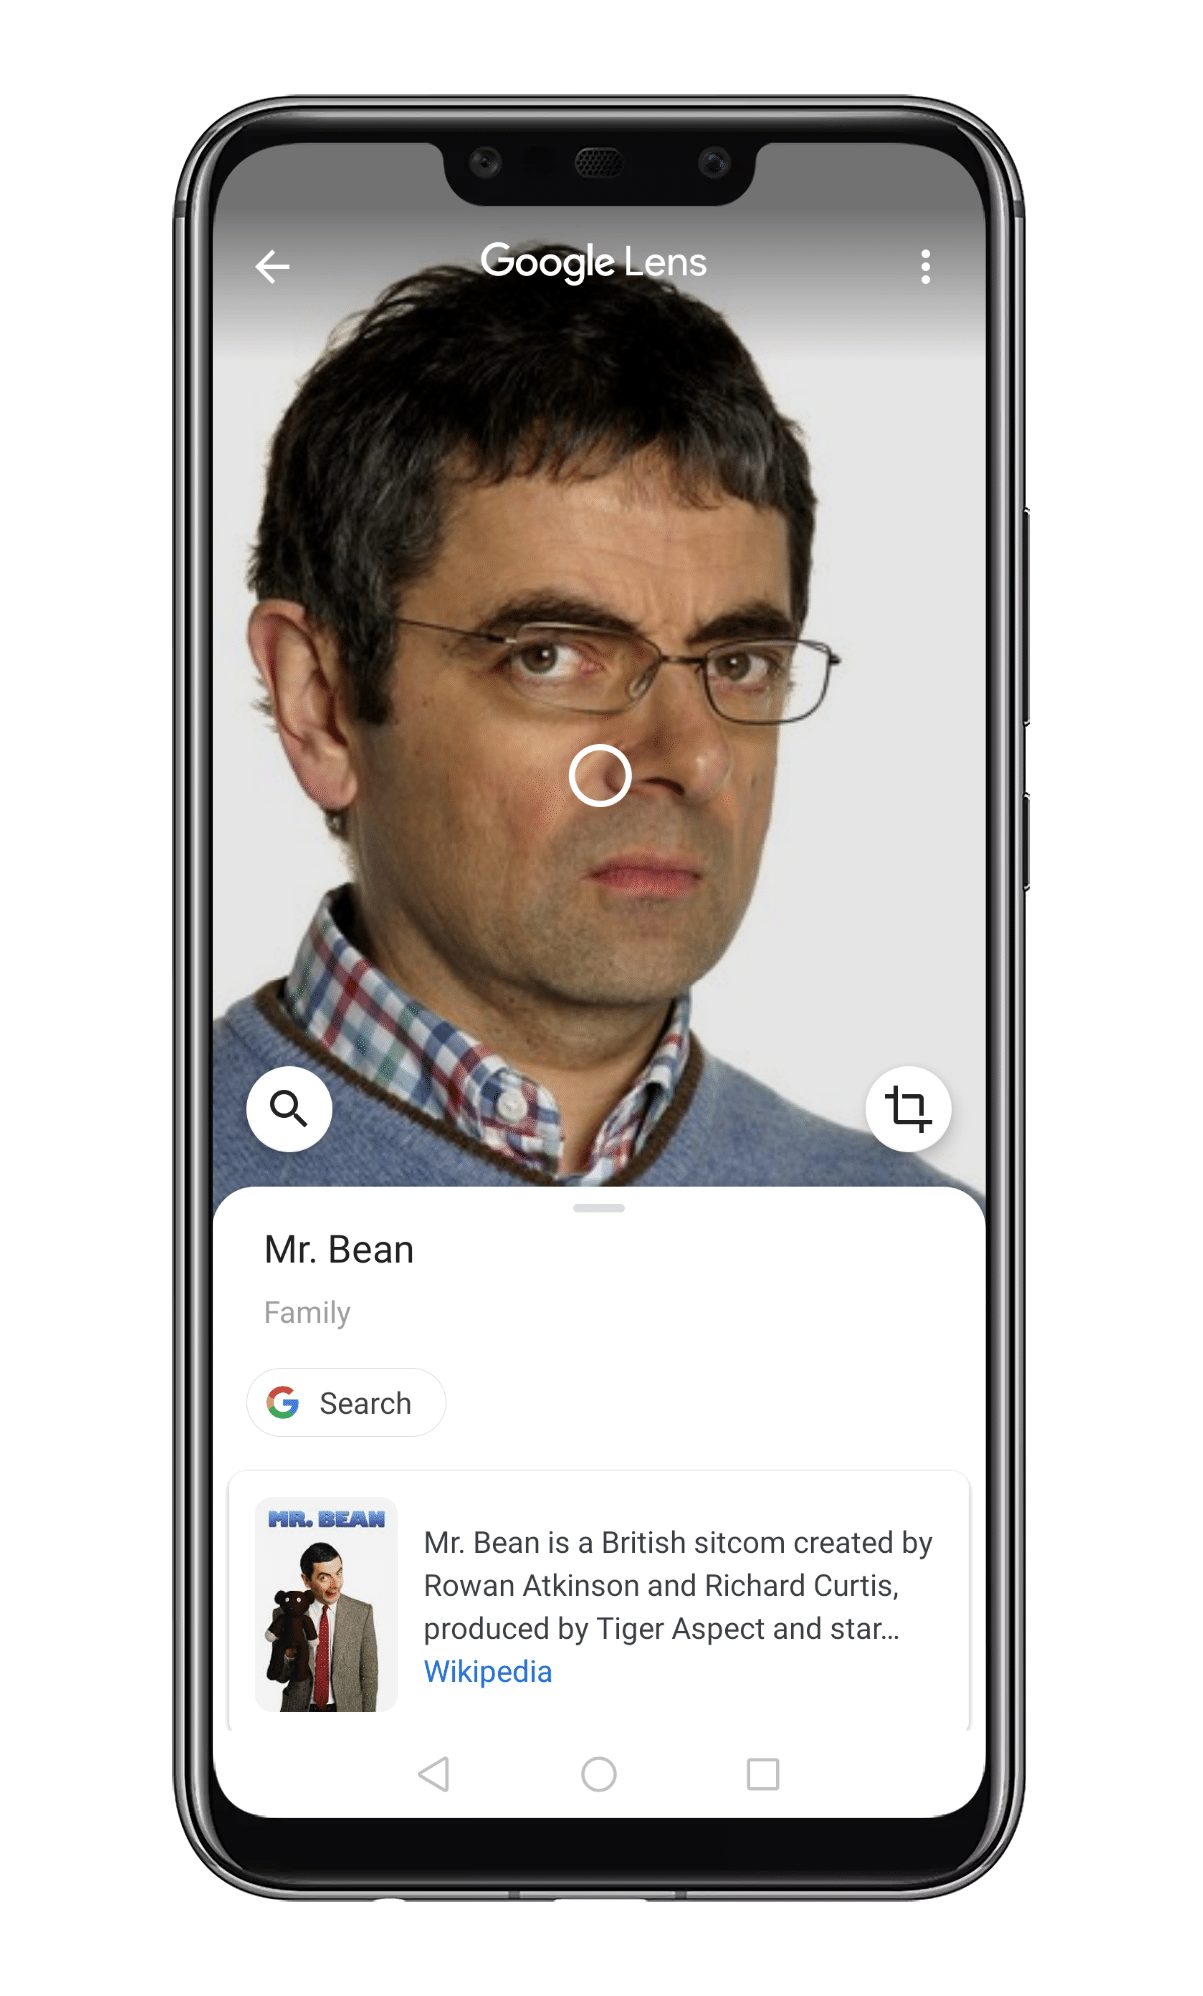
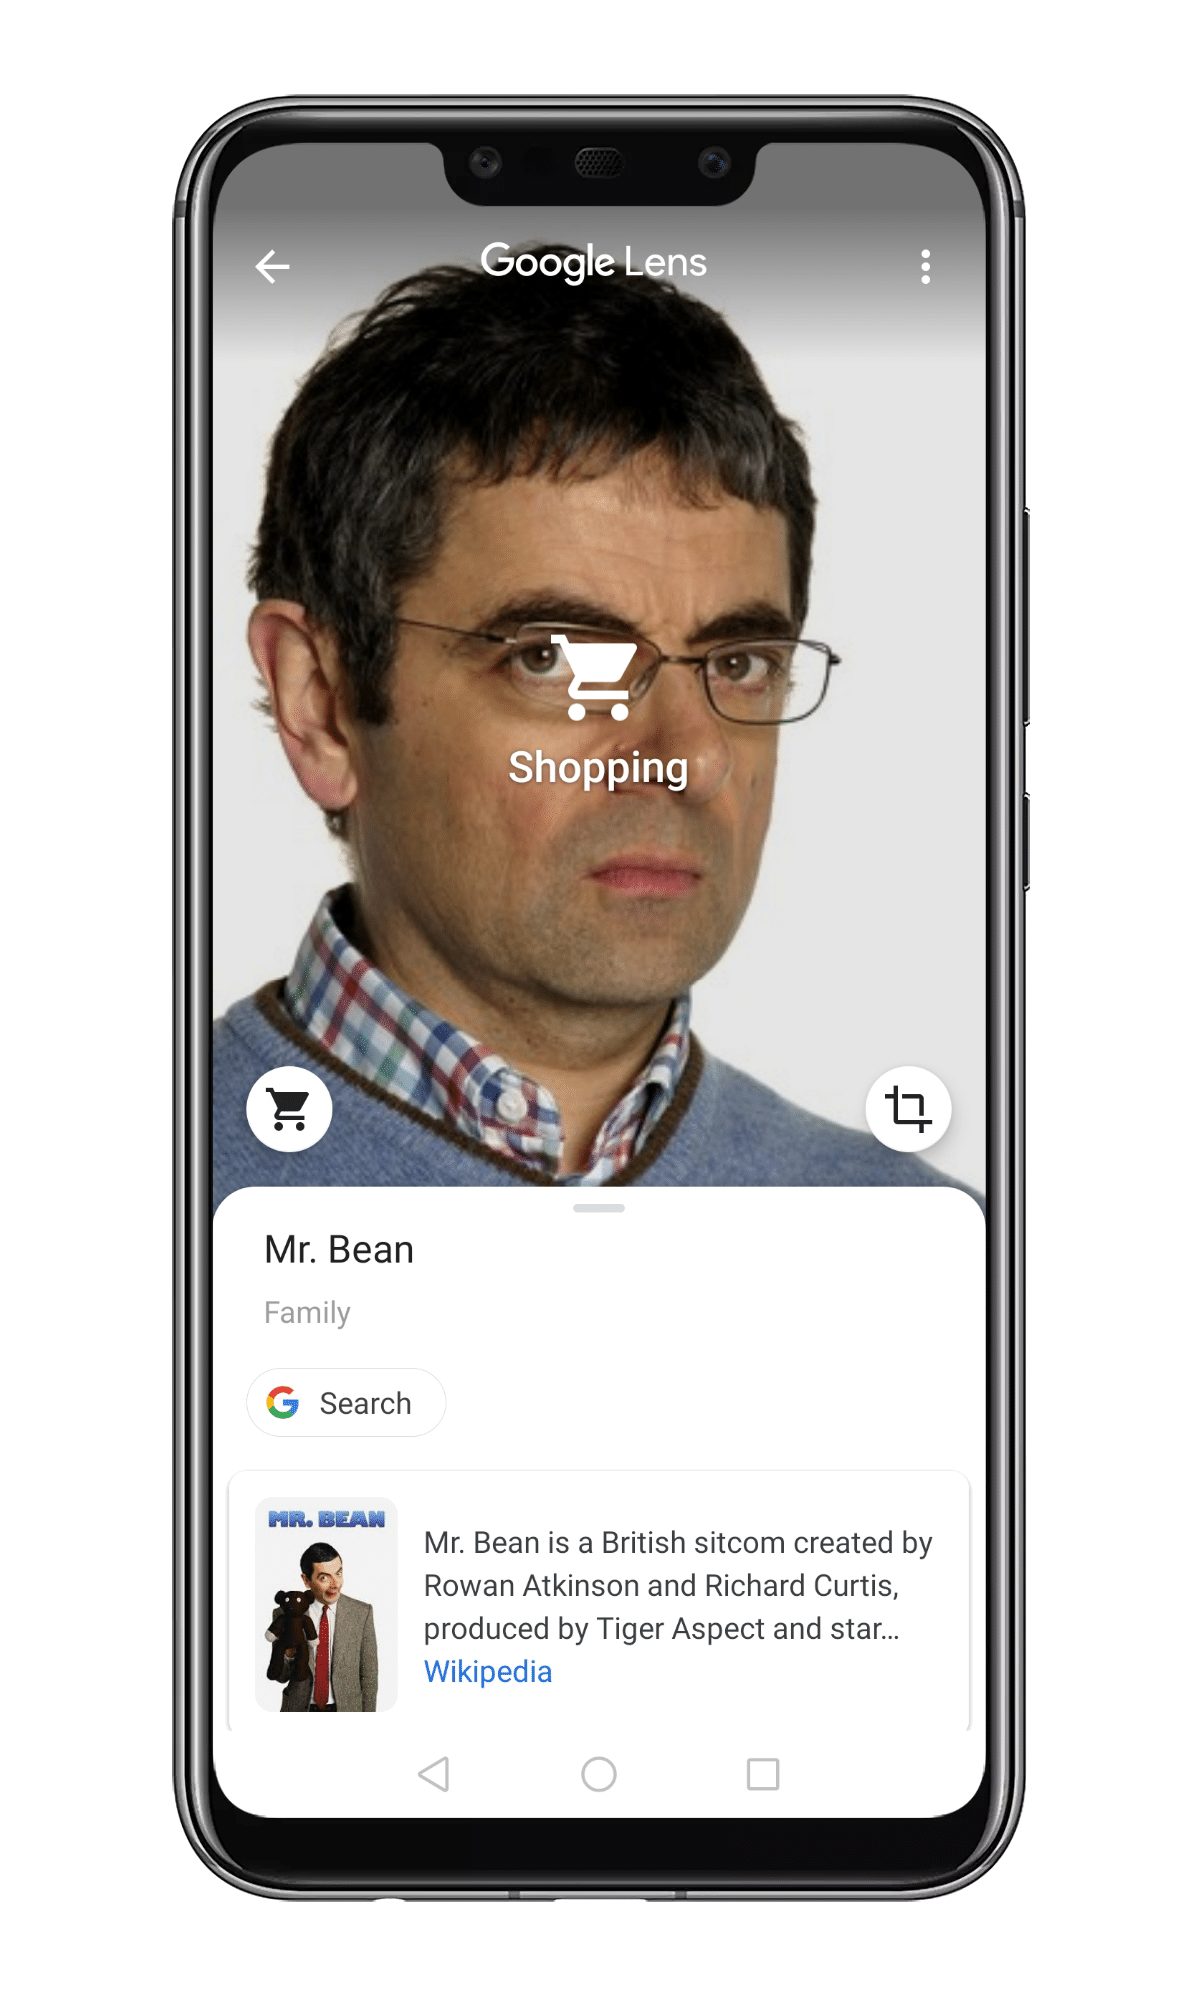
The reason why we are talking about Google Lens is that recently Google Chrome got a feature in which it uses the Google Lens. Google Chrome now allows users to search any image through Google Lens to find out more details of what an image shows. You can now force any image to use Google Lens to find out more details. Not only that, but you can also shop for the shopping elements present in the image through Google Chrome’s new feature. So, let’s check out how to use the Google Lens Rever Image search feature from the Chrome browser.
How To Enable Google Lens Reverse Image Search On Chrome for Android
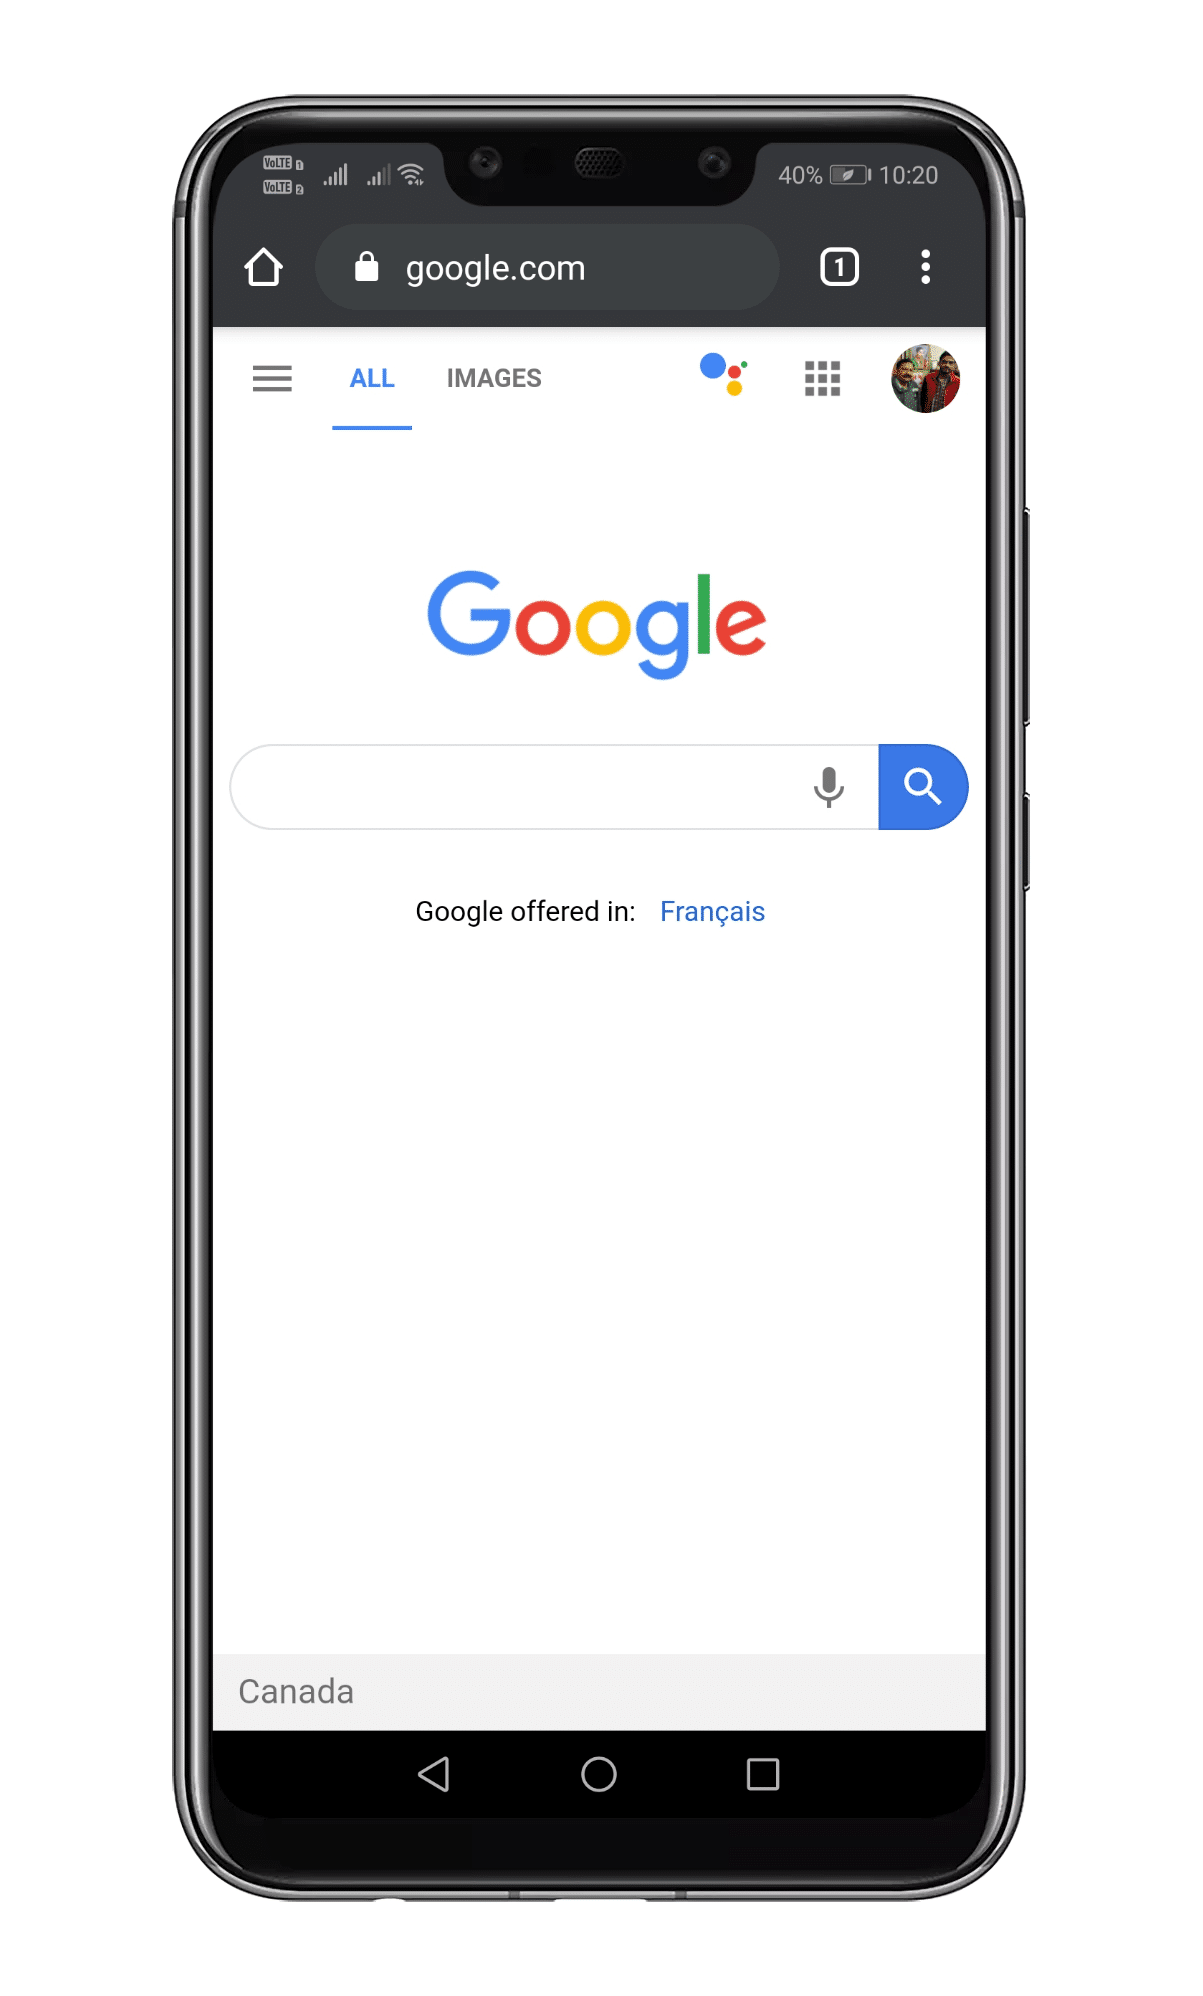
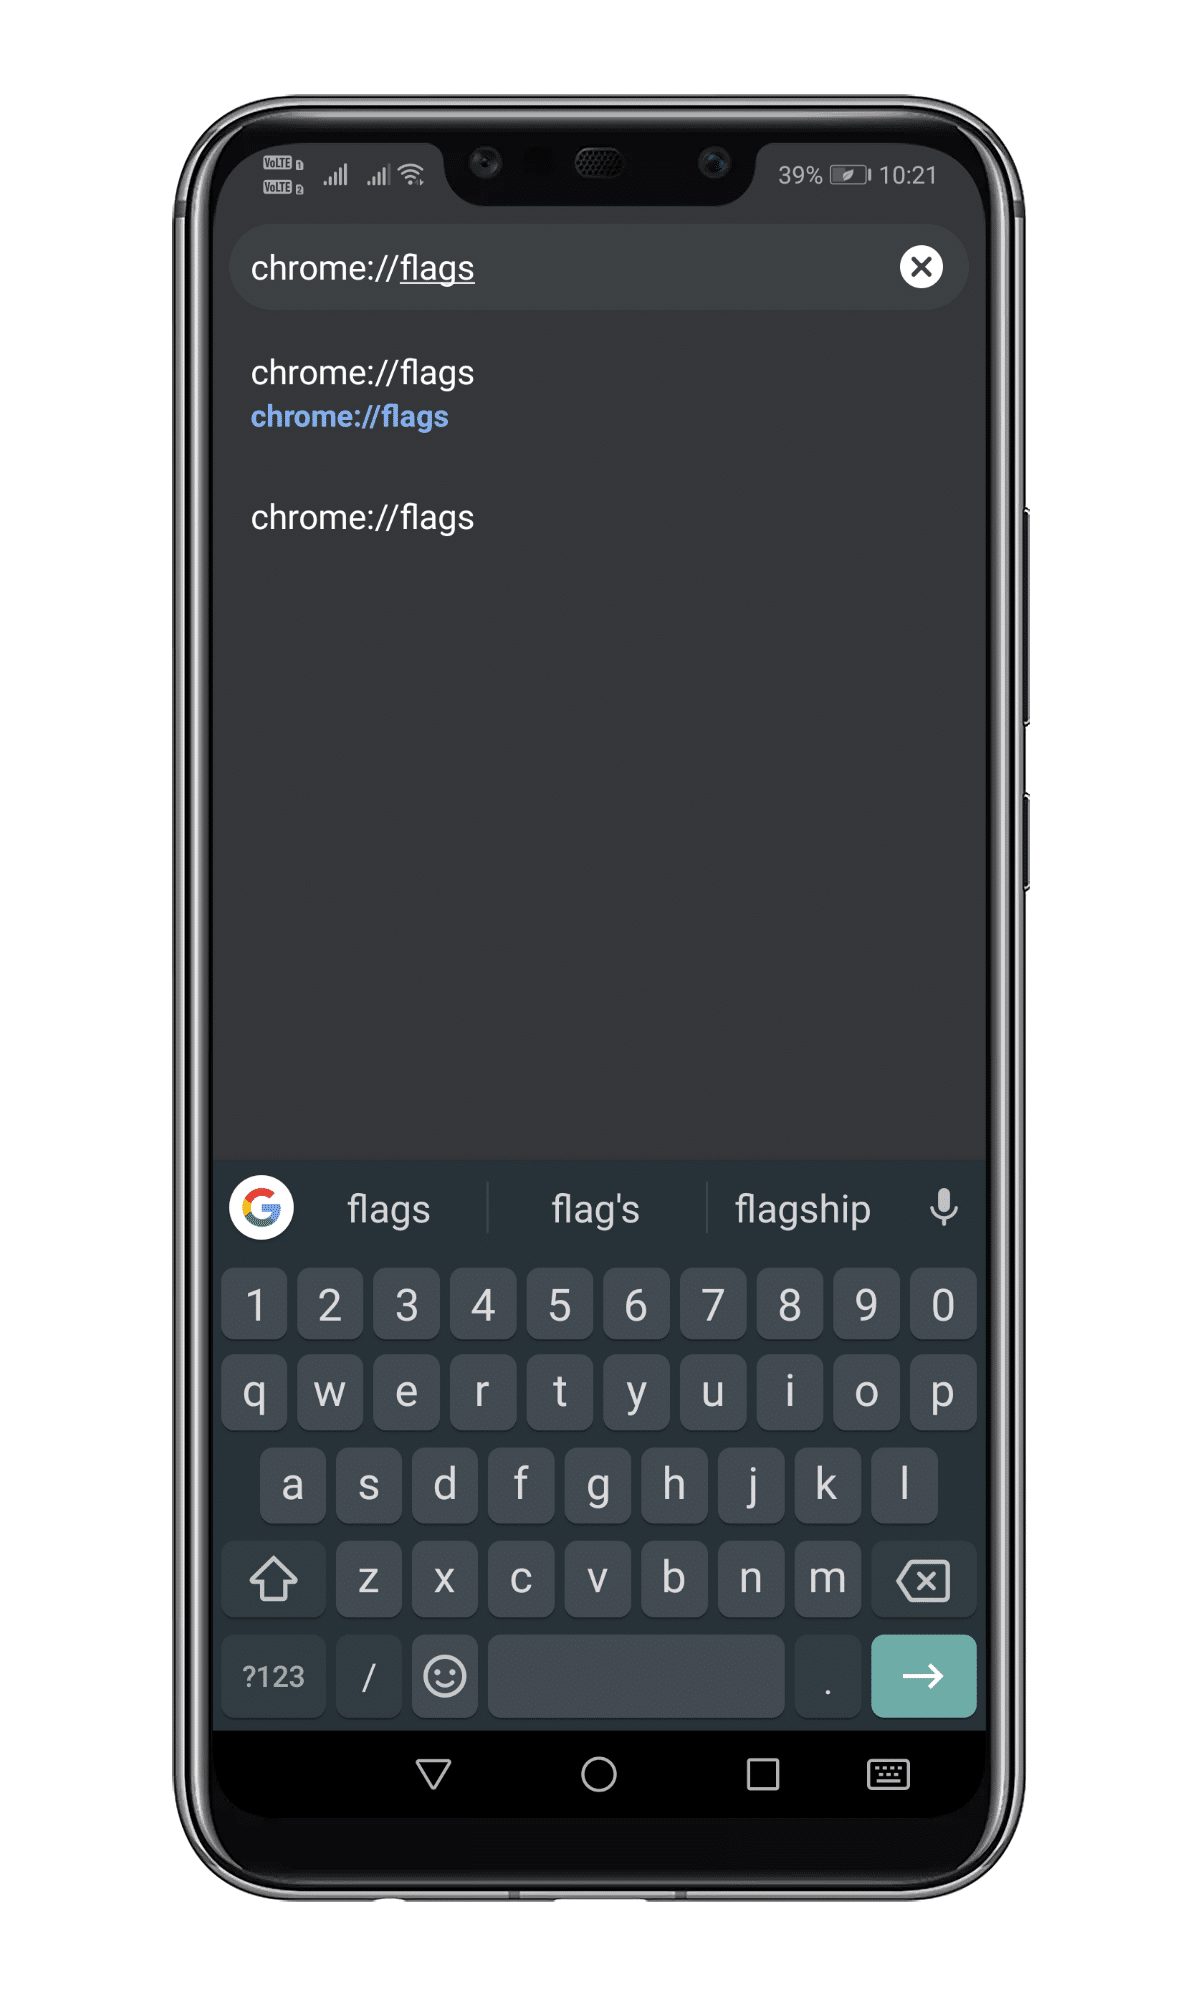
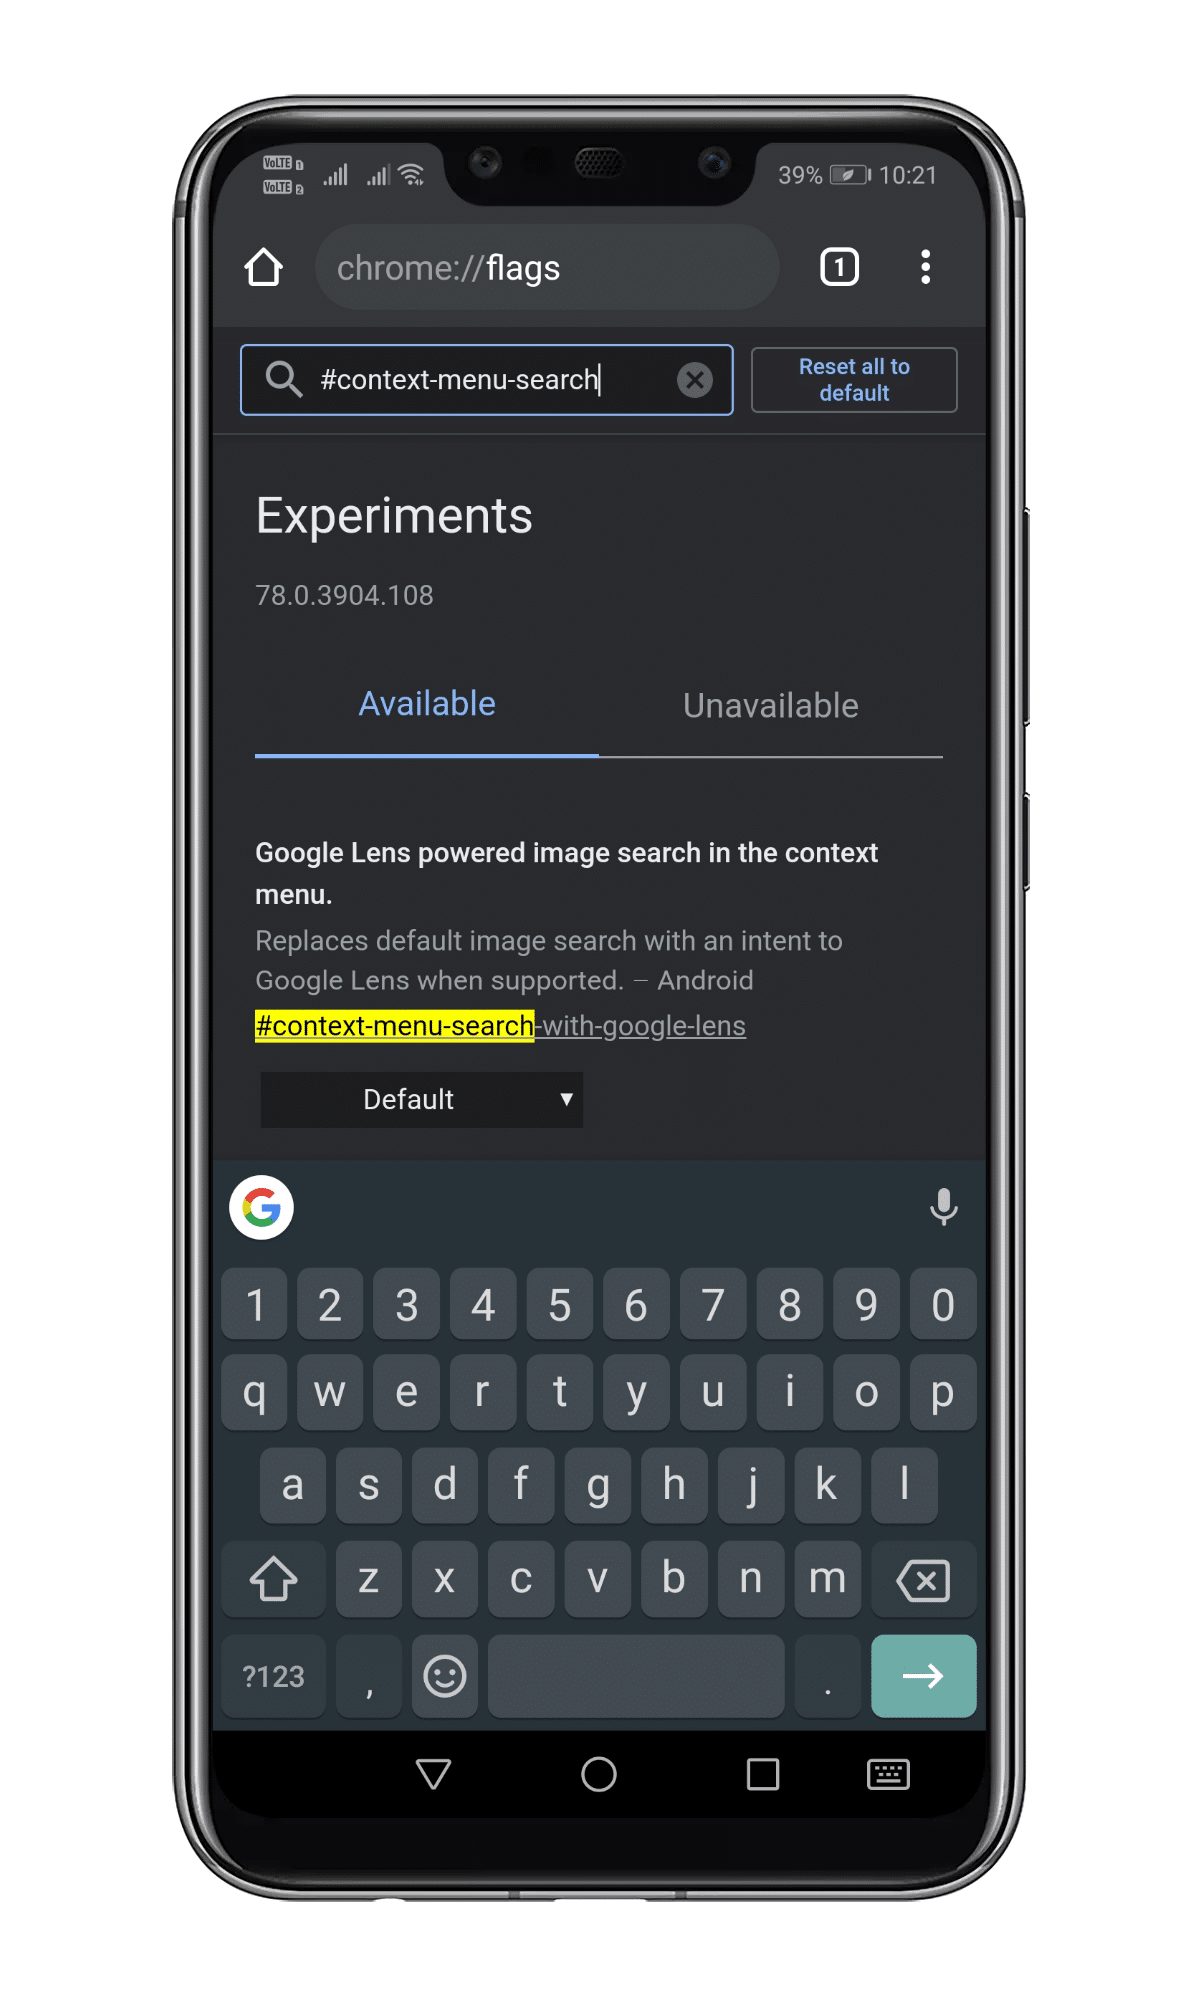
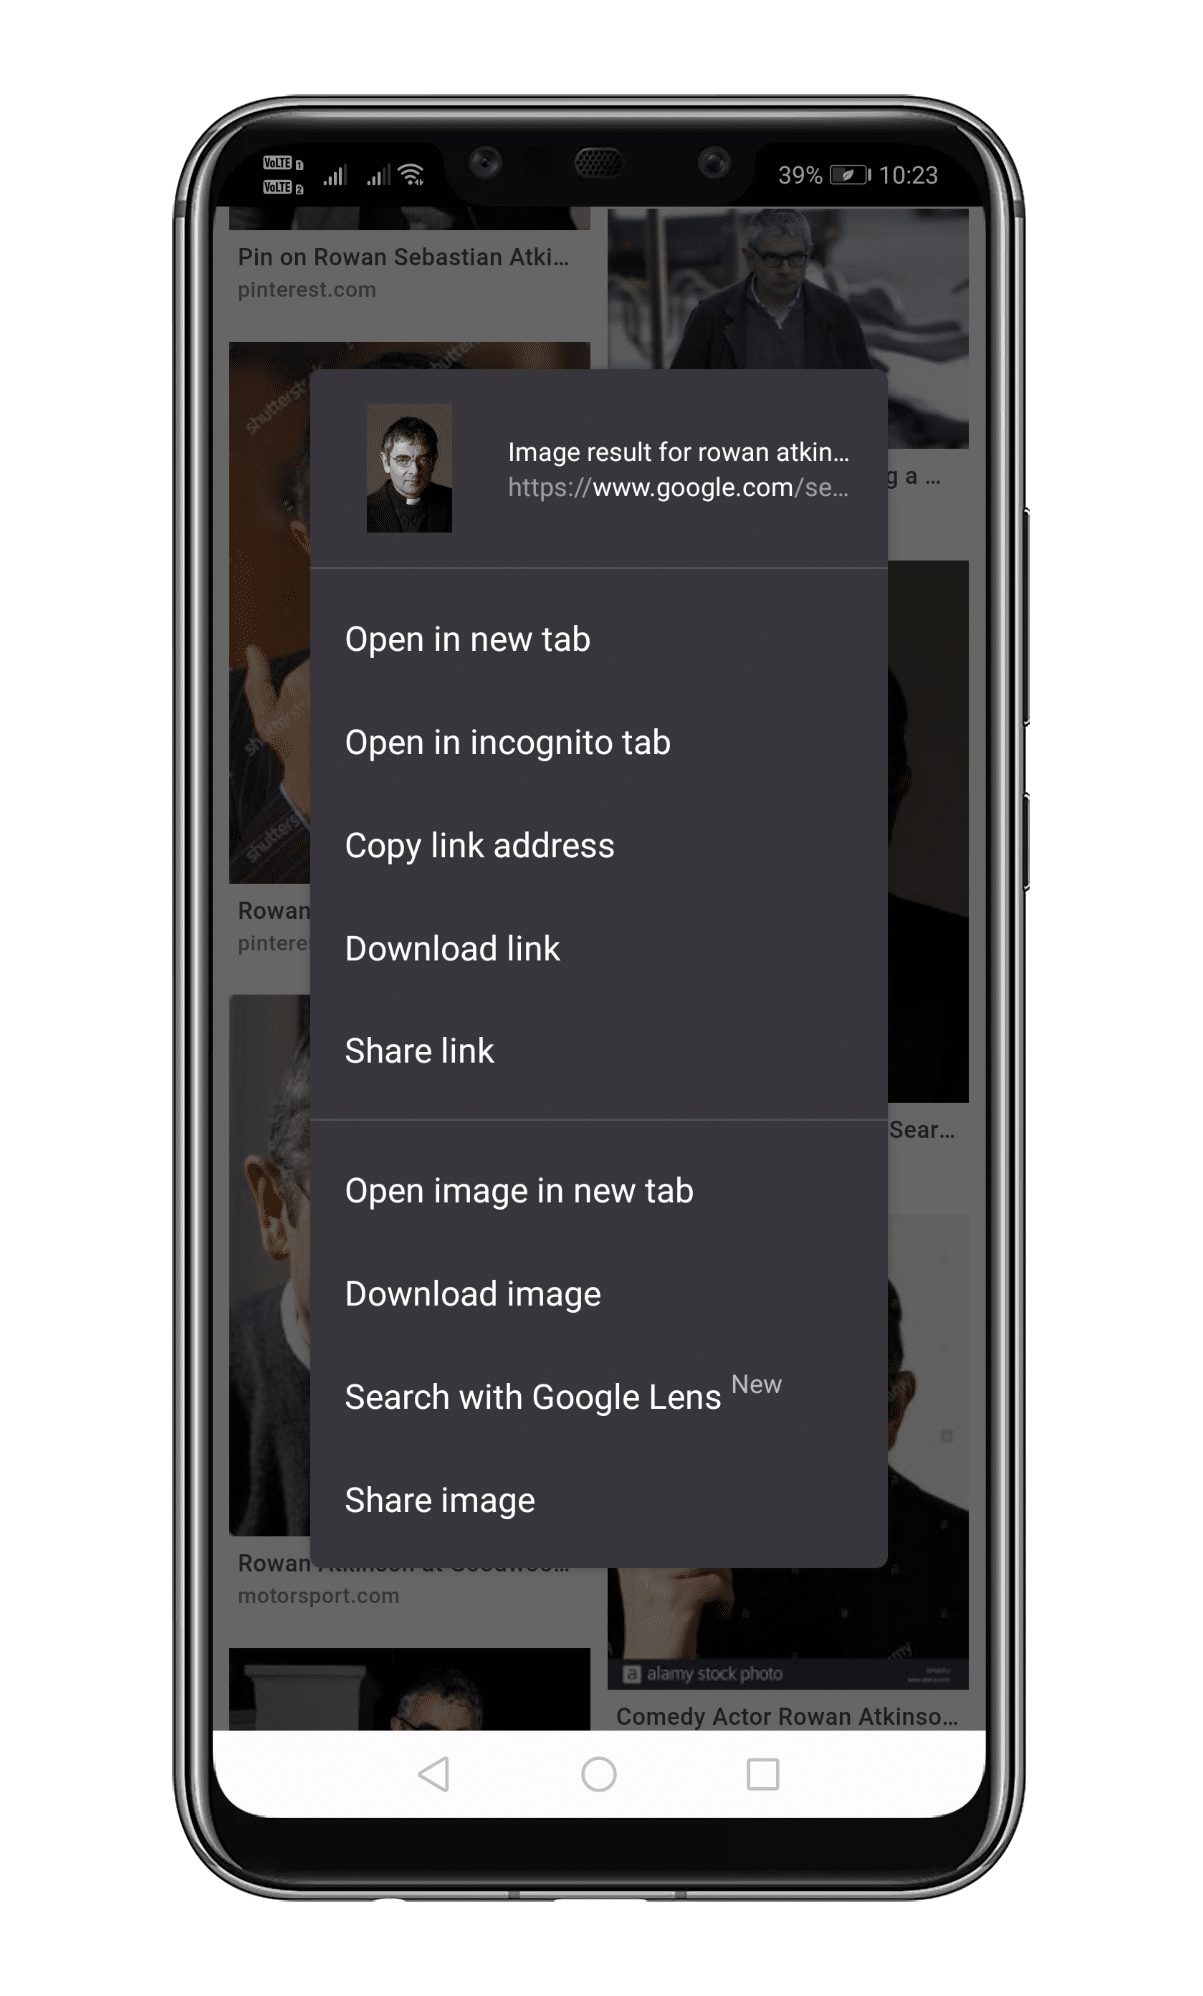
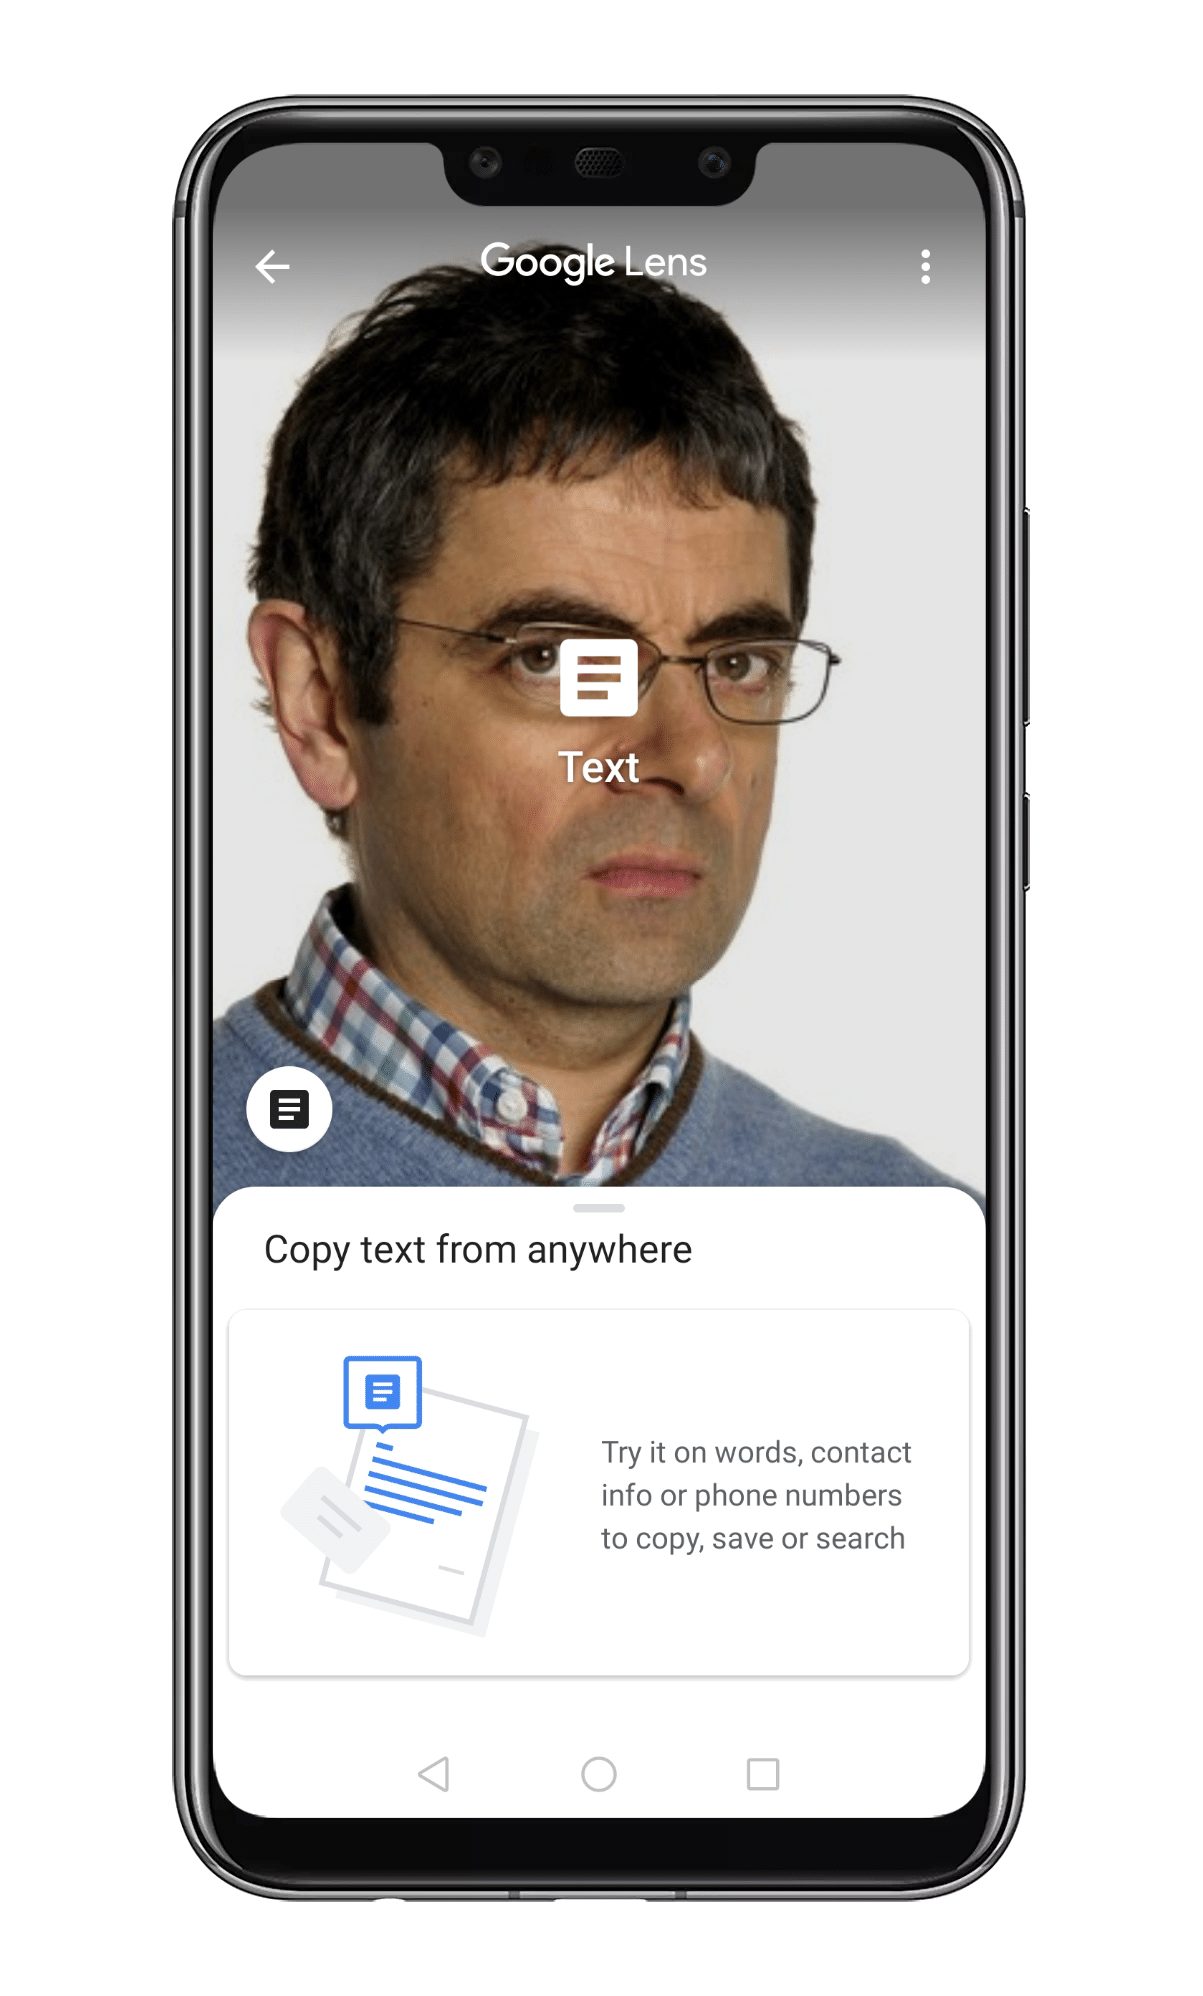
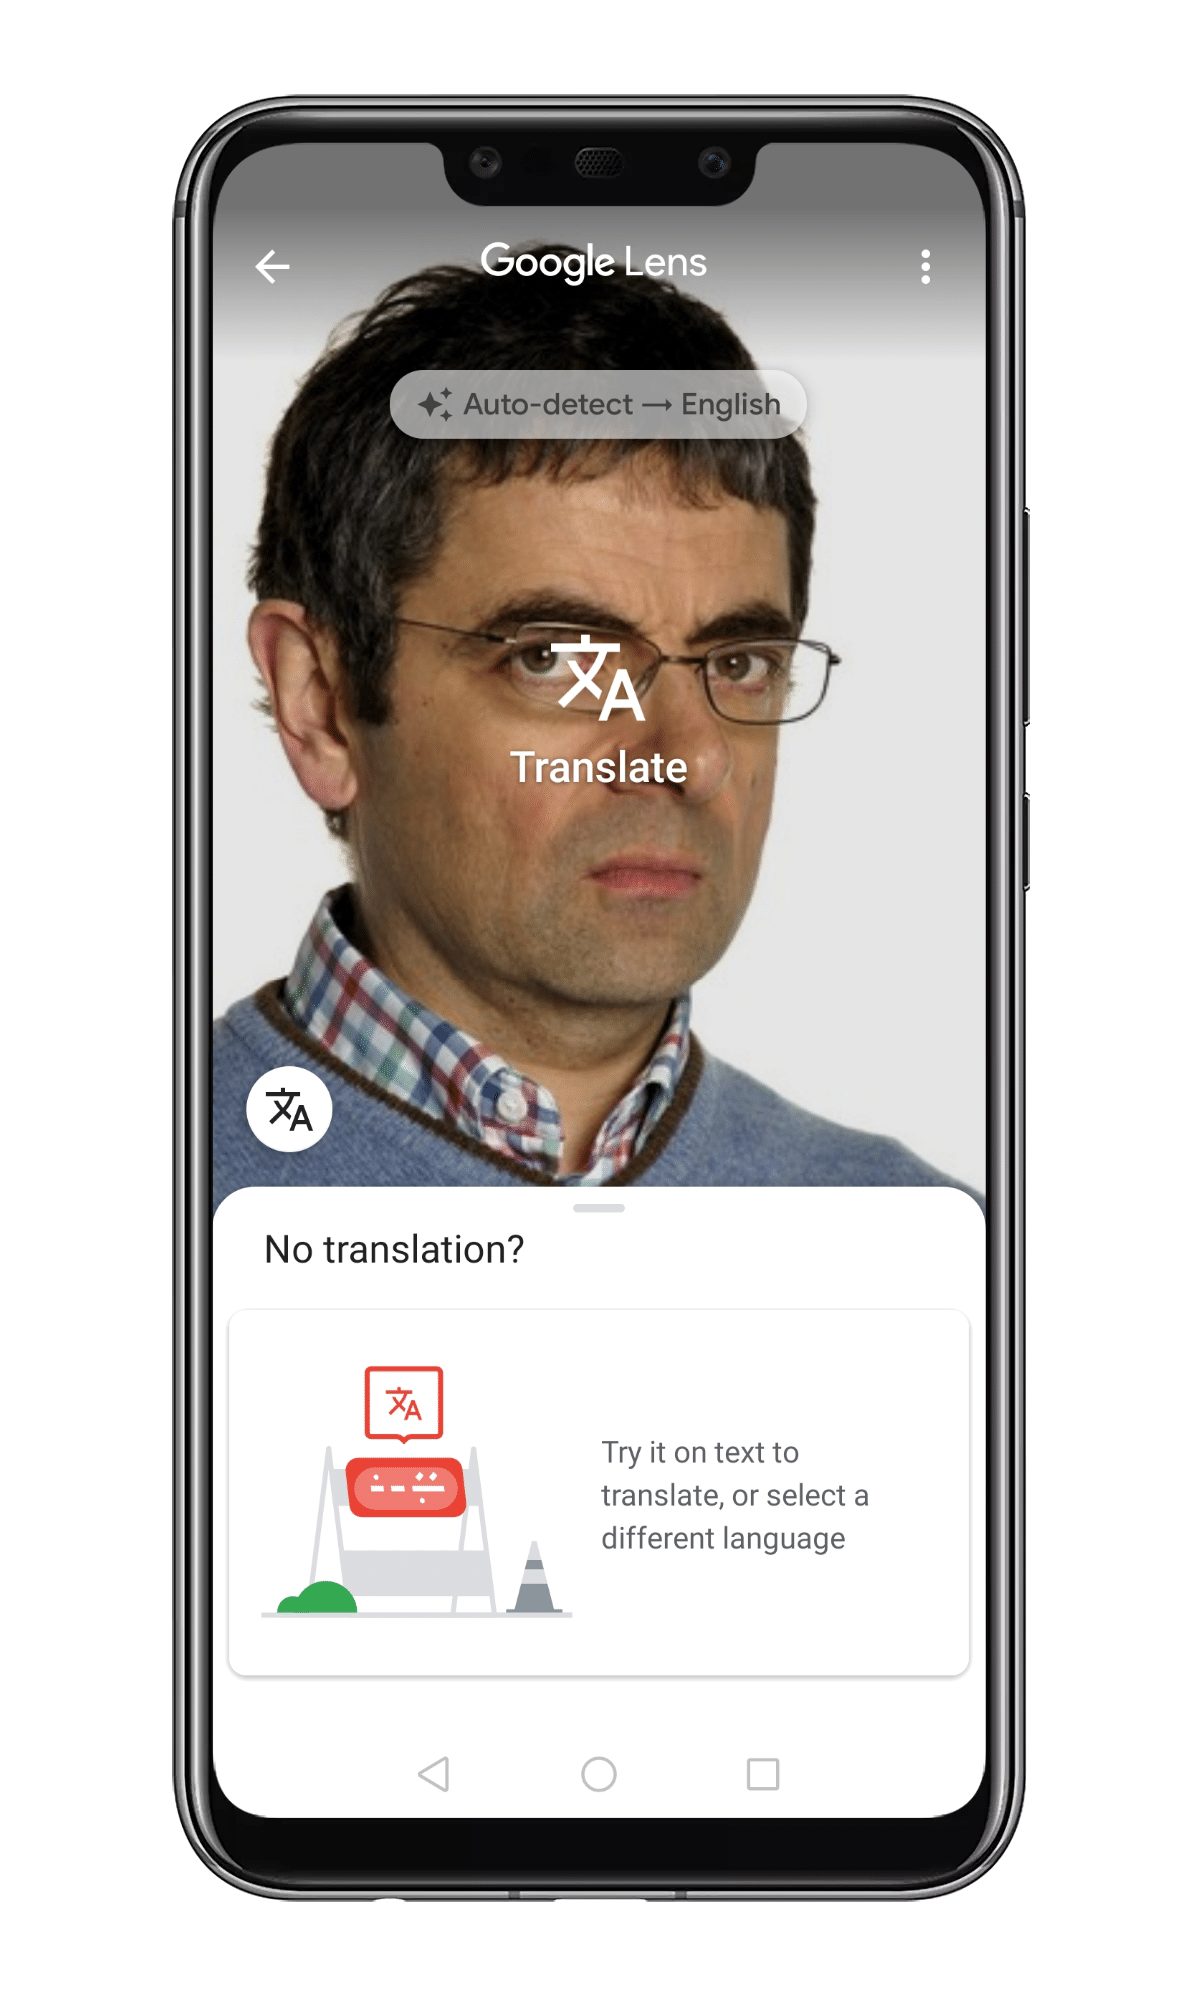
To use Google Lens Reverse image search from Chrome on Android, you need to update your Chrome browser to the latest version. After updating the chrome browser, follow some of the simple steps given below. Step 1. First of all, open your Google Chrome browser on Android. Step 2. On the URL bar, type in ‘Chrome://flags’. Step 3. In the next page, search for the following string – #context-menu-search-with-google-lens Step 4. You need to select ‘Enabled’ from the drop-down menu and then tap on the ‘Relaunch Now’ button. Step 5. Now long tap on any image and select the option ‘Search with Google Lens’ Step 6. It will open the photo in Google Lens. It will show you the details of the photo. Step 7. If your photo has a shopping element, then the shopping section will show you the shopping links. Step 8. There’s also an option to grab text from the image (OCR) Step 9. If you want to translate the text written on the image, you need to select the ‘Translate’ button. That’s it! You are done. This is how you can use Google Lens reverse image search from Chrome browser on Android. So, this is all about how to use Google Lens right from the Chrome browser on Android. I hope this article helped you! Share it with your friends also.
